Bring Your Dark Photos Out of the Shadows
Advertorial Guest Post
Have you ever been disappointed by a photo that turned out darker than expected? It can feel like you captured a moment in a black hole instead of a breathtaking sight. But don’t worry, there are ways to improve those gloomy pictures and give them a new lease on life.
Embrace the Bright Side
When it comes to exposure, increasing it can make everything look brighter and more inviting. However, it’s important to find the right balance and check the white balance to ensure natural-looking colors. If your photo looks dull, playing with vibrance can make the colors pop without going overboard like saturation sometimes does. Additionally, enhancing the whites can add a touch of brightness to the overall image.
Luminance and Contrast
Luminance is a useful tool for spotlighting the colors in your photo without significantly changing the overall brightness. Contrast, on the other hand, can add drama by making the dark areas darker and the light areas lighter. On the other hand, dark photos can be cool and artistic. You can use the darkness to your advantage and create low-key photographs where the shadows take center stage. Alternatively, you can make the darkness the focal point of the photo, turning what might seem like a flaw into a feature.
Tech to the Rescue
If you’re not familiar with Photoshop, there are plenty of apps available that can help you brighten up your photos with just a few taps on your phone. Some popular options include Snapseed, AirBrush, Adobe Photoshop Fix, BeautyPlus, and PhotoDirector.
How to Brighten a Dark Picture: A Step-by-Step Guide
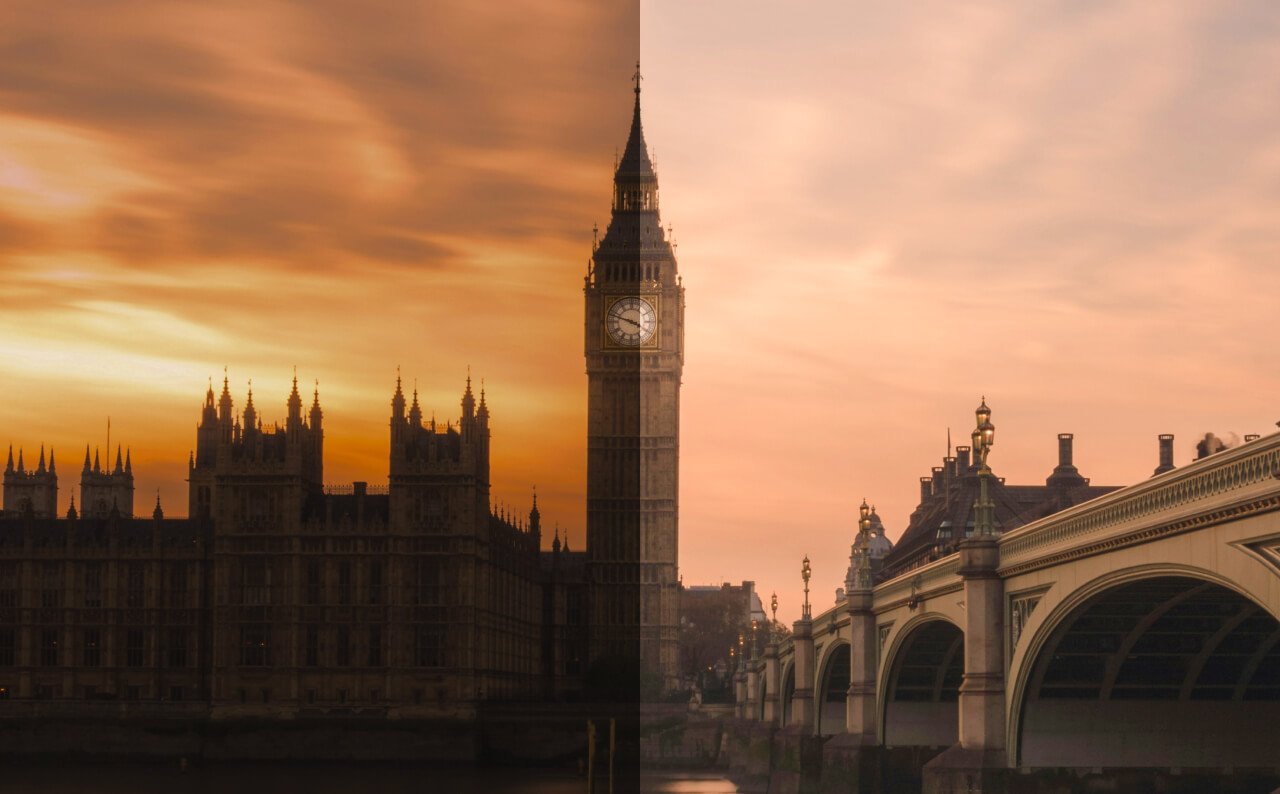
Here’s a step-by-step guide to help you brighten up those dark photos and make them stand out.
Step 1: Choose Your Photo Editor
To begin, you’ll need photo editing software. Desktop apps offer a wide range of options for adjusting the brightness of your photos. If you prefer editing on your phone, there are plenty of options as well.
Step 2: Back It Up!
Before you start editing, make sure to create a backup copy of the original photo. This way, you can always revert to the original if needed.
Step 3: Let There Be Light!
Now it’s time to have some fun with editing.
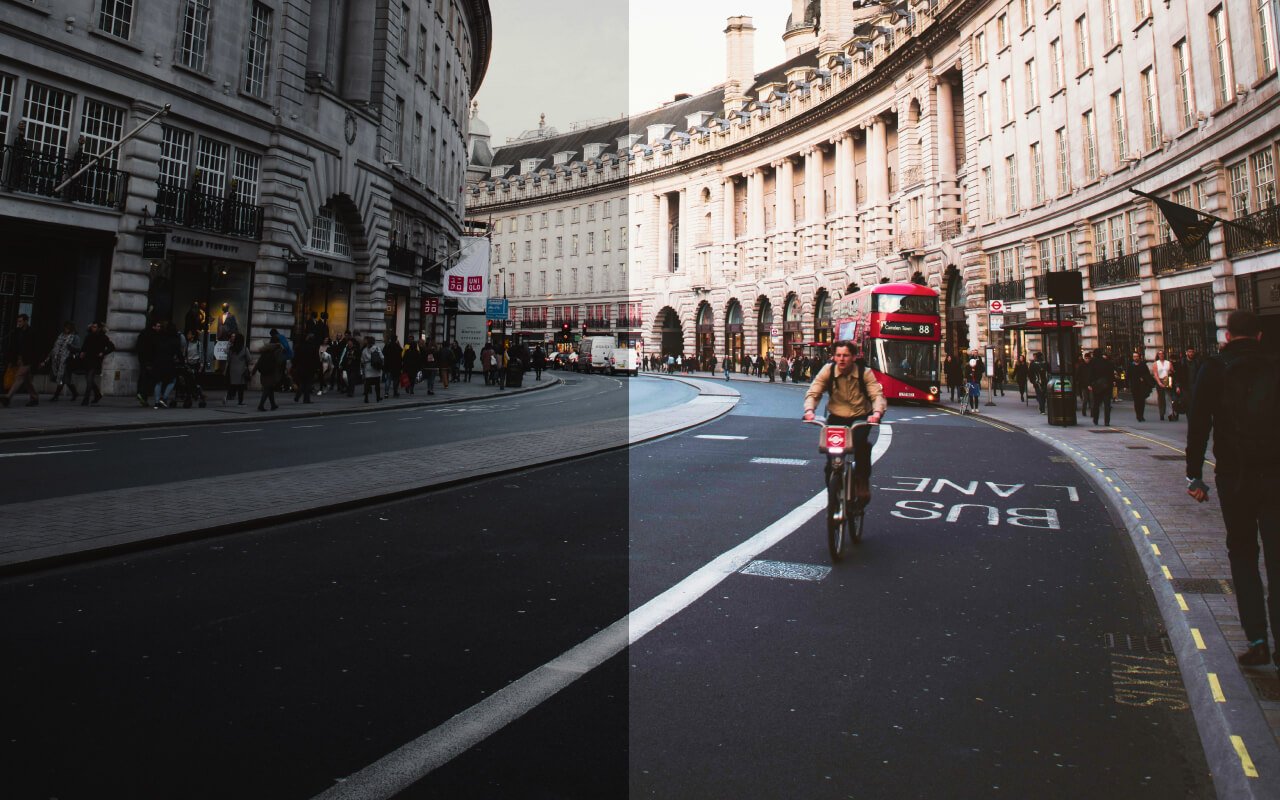
Brightness and Contrast: Increase the brightness to reduce shadows and adjust the contrast to maintain a balanced look.
Adjusting Levels: Use levels to target specific tones in your image and brighten them up without affecting the entire picture.
Curves: Curves allow for more precise adjustments to the light and dark areas of your photo.
Shadows and Highlights: Bring up the shadows to reveal hidden details and reduce the highlights to recover washed-out colors.
Saturation and Lush: A slight boost in saturation can make your colors more vibrant, and if available, the “lush” setting can add warmth to your photo.
Step 4: The Finer Details
Once you’ve adjusted the brightness to your liking, it’s time to refine the image. Fine-tune the whites and blacks to achieve a crisp and contrasty look. Don’t be afraid to experiment with different settings until you’re satisfied with the result.
After perfecting your edit, save your masterpiece and share it with the world!
These are the basics of editing that are universal for most apps out there. You can check this guide on how to brighten a dark picture if you want to delve deeper.
Bonus Tips for Next Time
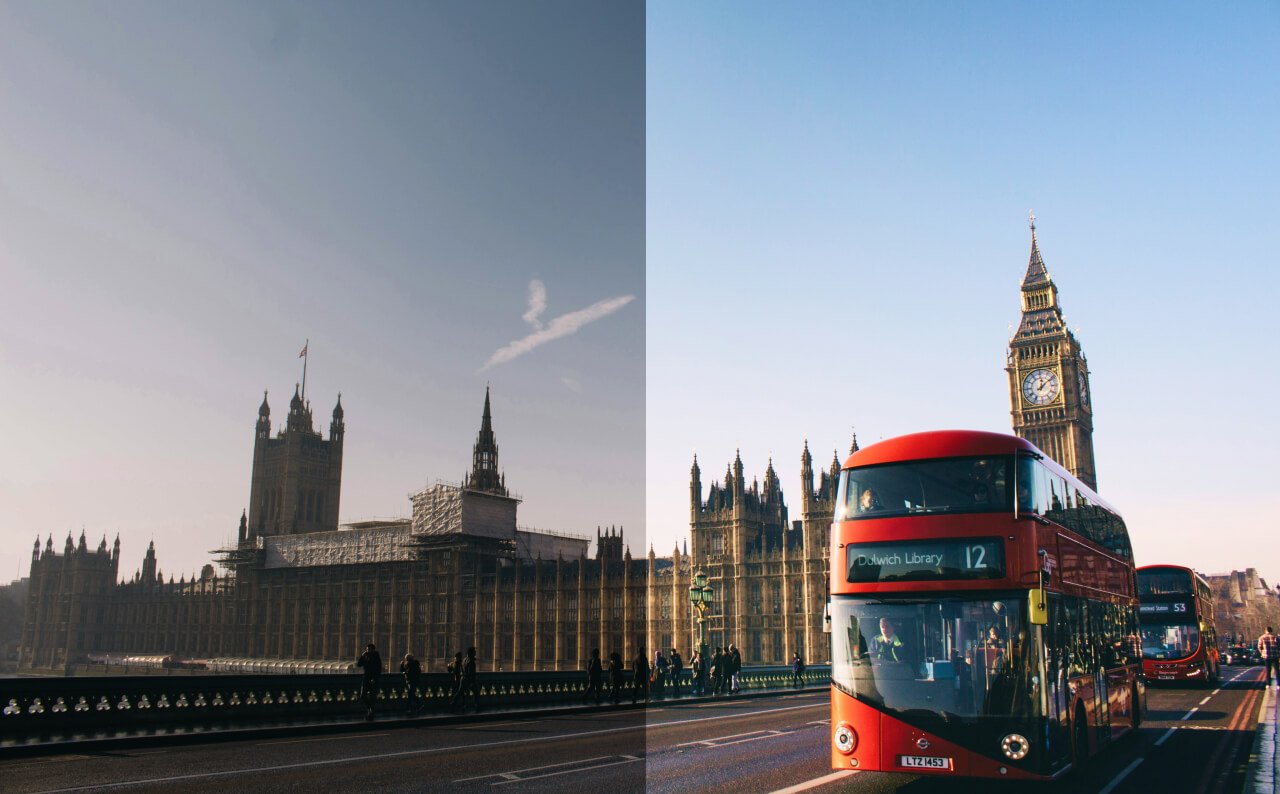
To avoid dark photos in the future, keep these tips in mind:
- Try to avoid shooting in super dark environments or low-contrast situations.
- Adjust your camera settings to prevent photos from turning out too dark initially.
- If shooting indoors or with a Polaroid, ensure you have sufficient lighting and consider using a flash.
- When shooting outdoors, position yourself with the sun behind you and get close to your subject.
- If possible, shoot in RAW format for greater editing flexibility later on.
Keep It Real
Remember, every photo is unique, so there’s no one-size-fits-all solution. You may need to experiment with different settings to find what works best for your specific picture. And while editing, strive to keep the final result looking natural, as if it was taken in a good light.
So, the next time you encounter a dark photo, don’t give up on it. With a little tweaking, you can transform that underexposed snapshot into a bright and beautiful memory. Keep experimenting, and you’ll become a pro at rescuing photos in no time!

![Stopping Wet Weather from Damaging Your Home [AD]](https://plutoniumsox.com/wp-content/uploads/2023/05/lightning-gba8692503_1280-1.jpg)
