Olpro Cubo Breeze: Review
AD – Olpro Cubo Breeze was gifted for review purposes
A couple of years ago, I reviewed the Cocoon Breeze, a large inflatable drive away awning from Olpro. For longer trips when we’re staying in one place for a while, the Cocoon Breeze is exactly what we need. However, on shorter trips, we realised a smaller drive away awning would be more practical. So this year, we’ve been putting the Olpro Cubo Breeze to the test. My review is below, split up into sections so you can jump to the bit that interests you. If you like the sound of the awning and decide to make a purchase on the Olpro website, use my discount code to get 10% off. Enter NATALIE10 at the checkout. Please note, this is an affiliate code so I may earn a small commission if you choose to use it.
Olpro Cubo Breeze dimensions and specification
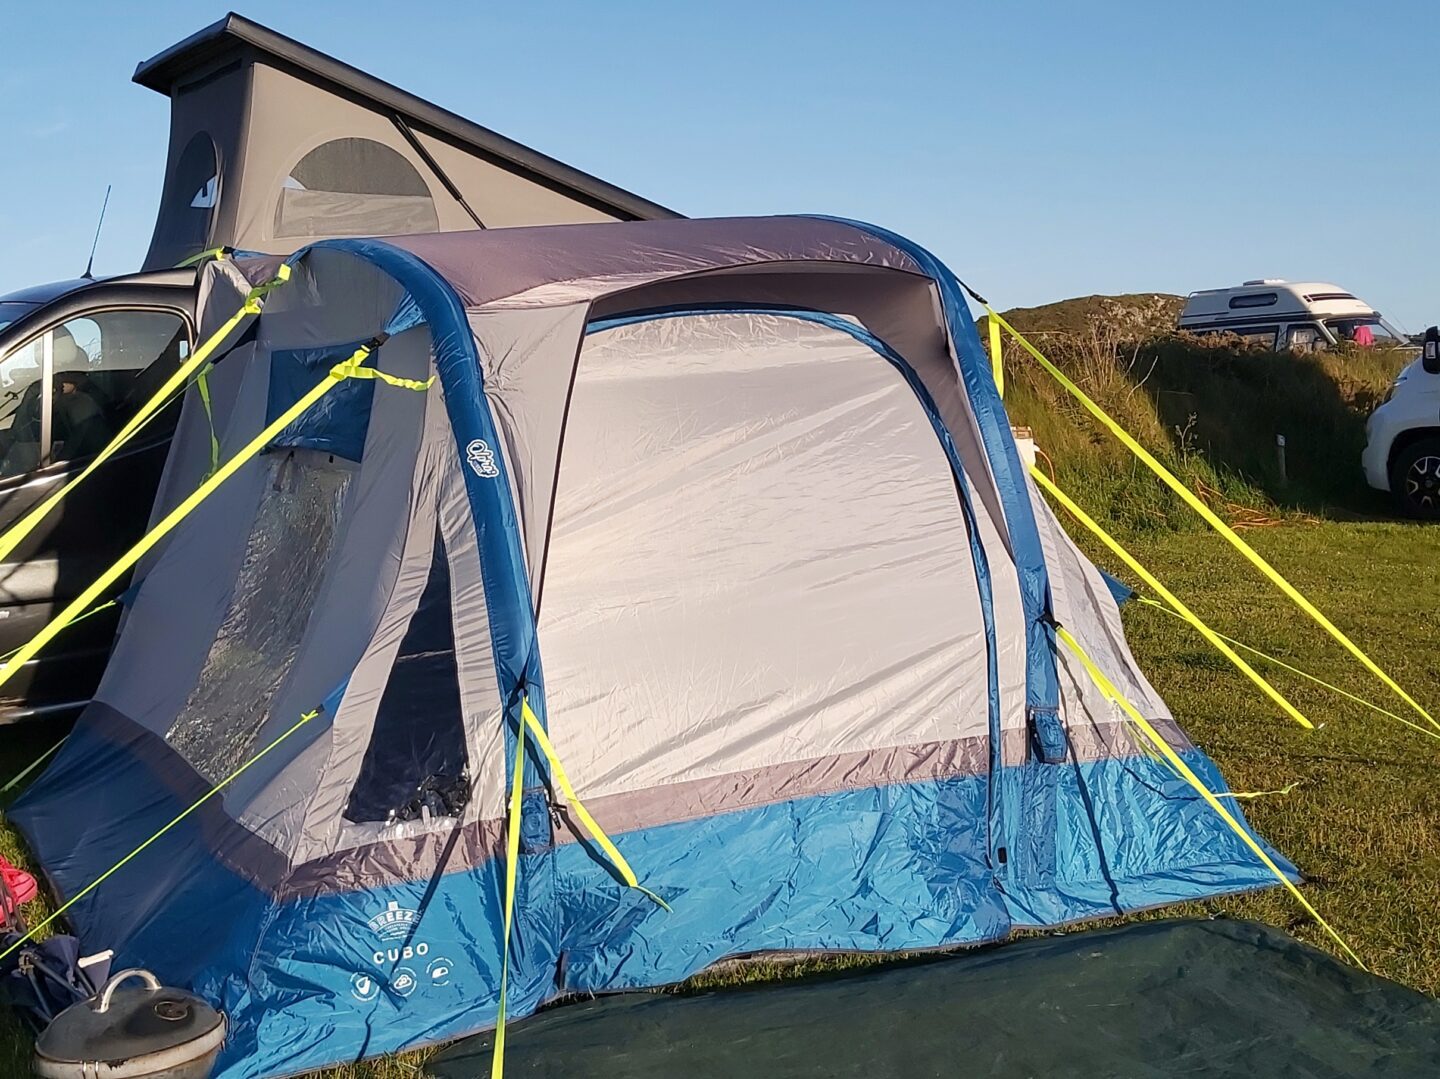
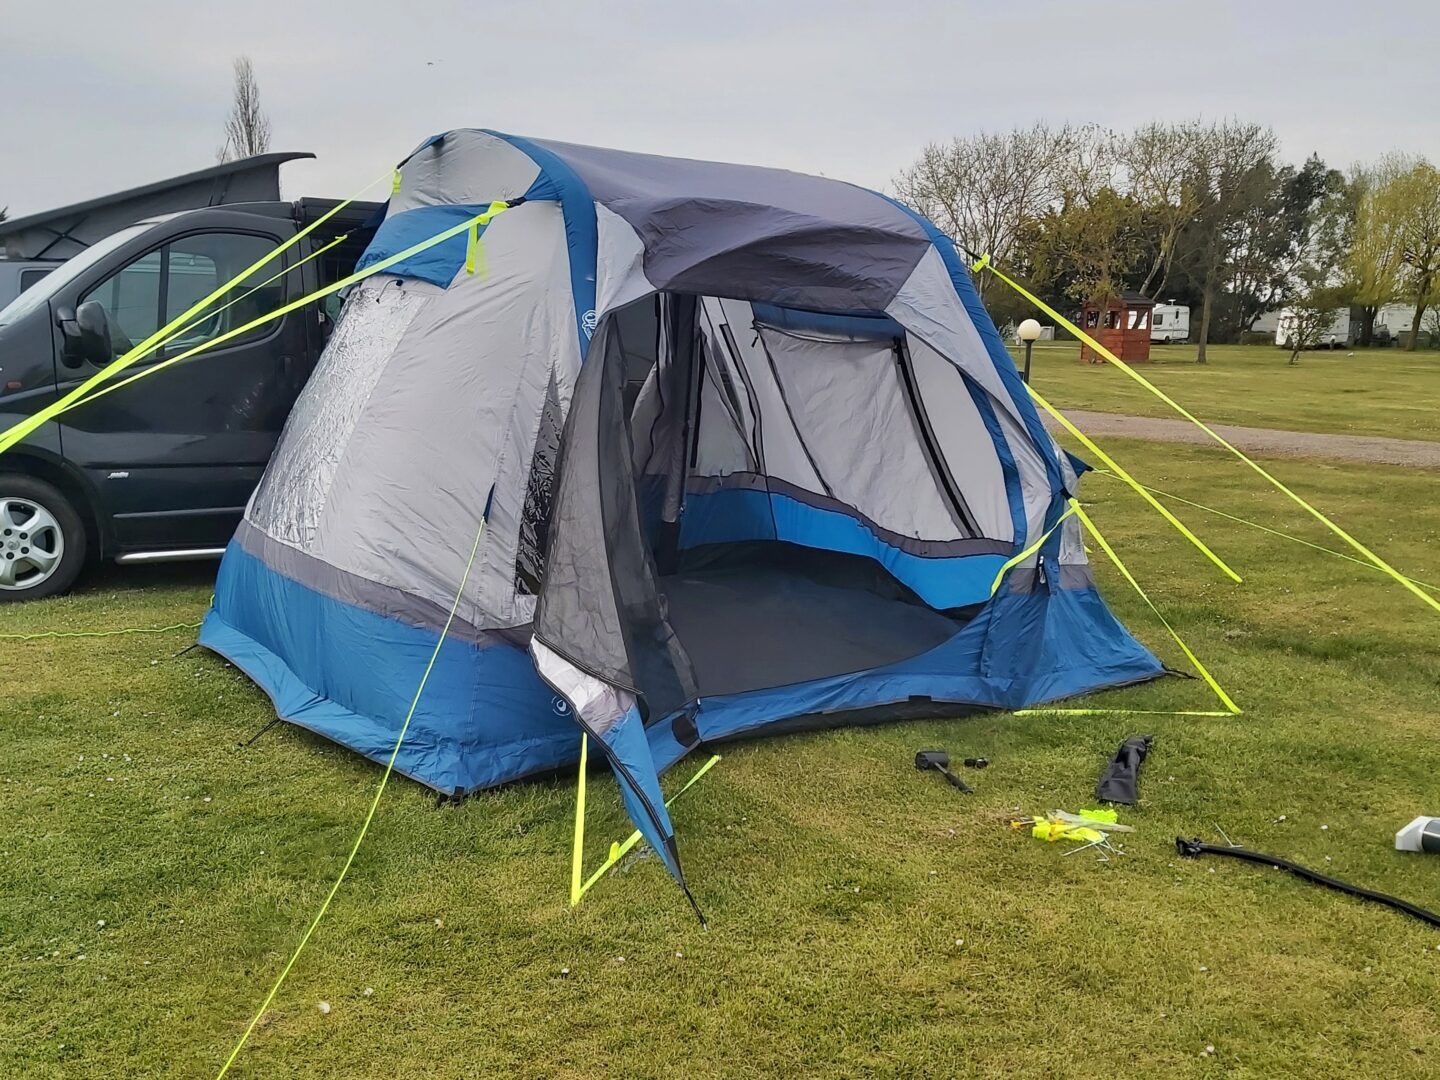
The Cubo Breeze is a relatively small awning. However, there is ample space within it. Although there is no inner bedroom tent, it would be possible for a couple of people to sleep in there as well as having room for storage. When inflated, the proportions are:
Height: Fits all camper vans between 190cm and 250cm high. The height of the awning itself when inflated is 220cm.
Footprint: Length 310 cm, width 310 cm.
Bag size: When packed away in the bag, the awning is 82cm long by 37cm high and 37cm wide. It fits quite easily into the bag.
Weight: 18kg
Groundsheet: Integrated into the awning.
Poles: TPU reinforced inflatable beams are integrated into the Cubo Breeze.
Doors and windows: There are 2 doors and 4 windows.
Pump and pegs: Both included with the Cubo Breeze awning, but we would highly recommend an electric pump.
Space to stand up: Yes! You can stand in the awning and walk around with ease.
Colour: We have the blue inflatable Cubo Breeze, but it is also available in sage and orange.
Time to pitch: According to the website, this should take around 10 minutes to pitch. This is definitely realistic, particularly with an electric pump. However, on a windy day it is bound to take longer. Head over to my Instagram to see a time lapse of my husband attempting to put up our awning with a manual pump in the wind!
Putting up the Olpro Cubo Breeze drive away awning
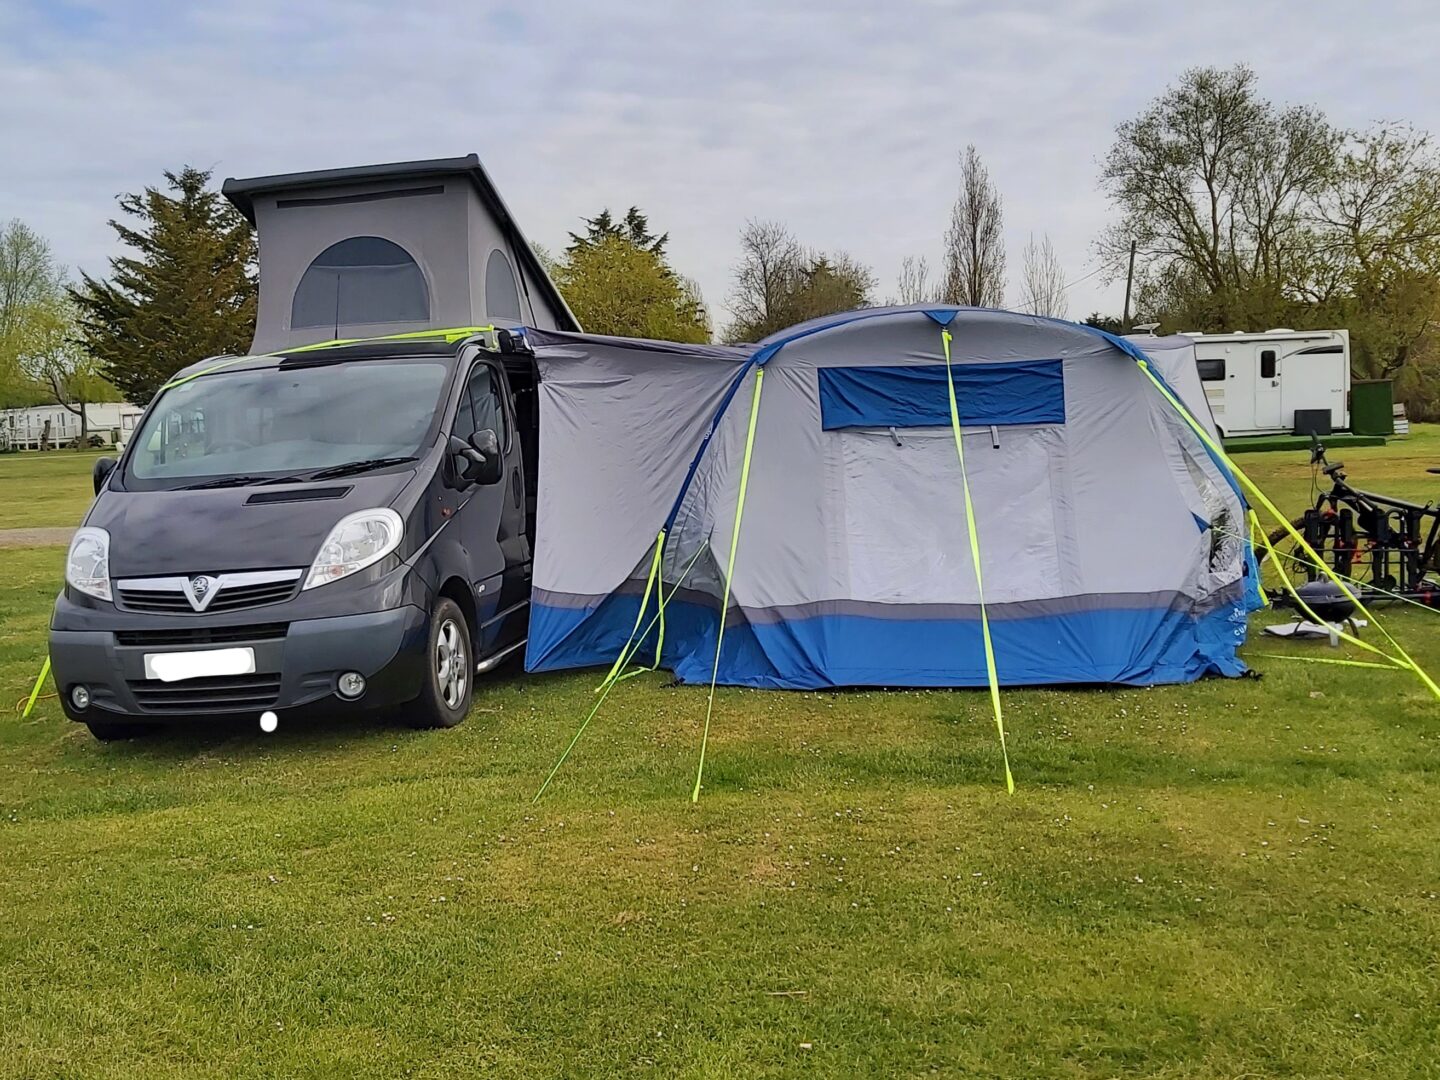
One of the things I love about Olpro products is how thorough their website is. If you have questions about a product you are considering purchasing, it is probably answered on their website. This includes how to put up the Cubo Breeze. They have a great video showing someone going through the process using a manual pump, which is well worth watching before you attempt to put up your own awning. We don’t proclaim to be experts at putting up the Cubo Breeze, but we do have a few tips:
- Zip up all doors and make sure they are in the right place before you start
- Use an electric pump if possible
- You may want to lightly peg out the corners before beginning to inflate the awning, but don’t peg it completely until it is inflated so you can check it’s in the right place and all doors are properly aligned
- Inflate the centre pole before the sides, then when the sides are up you can easily put the centre pole in place, allowing the awning to take shape
This is a very simple awning to put up, with no inner tent to worry about. Once it is where you want it, it’s time to attach it to the van. It’s easier to attach the awning directly to the van’s rail, but if you don’t have one, the straps work really well too. Getting the straps over the top of a high-top van can be a two-person job, but not all awnings cater for high tops with the straps, so the fact that the Cubo Breeze does is a real positive.
How we used the space in the Olpro Cubo Breeze awning
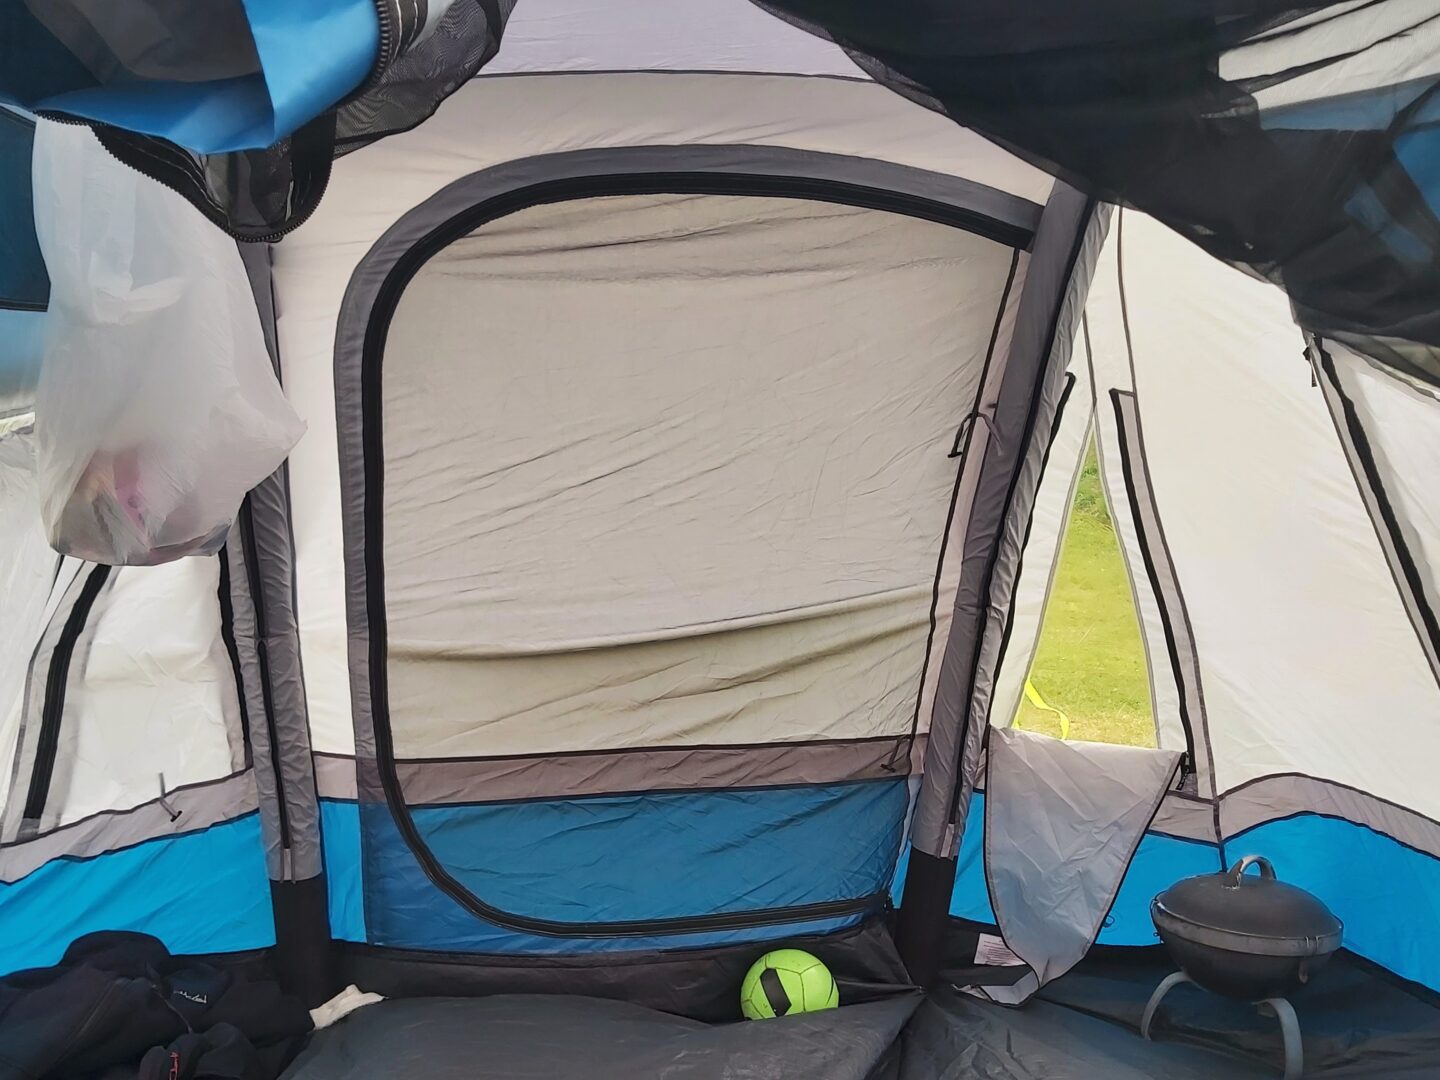
As the Cubo Breeze doesn’t have an internal bedroom tent, we used it predominantly for storage and as a seating area. We used an awning carpet, which is warm and pleasant to walk on. Additionally, the carpet is a great idea if you are travelling with a dog. Dog claws cause damage to any groundsheet, so it’s useful to protect it with a carpet.
Our layout consisted of storage space on one side of the awning, with a seating area on the other side. On sunny days, we were outdoors anyway, but it was useful to have a seating area within the awning to shelter from wind and rain. With the carpet in place, we were able to use camping chairs inside the tent. I probably wouldn’t do so if the carpet hadn’t been there, as I think these could damage the groundsheet.
How does the Cubo Breeze awning cope with wind and rain?
If you’ve watched my Instagram reel of my husband putting up the awning in the wind, you’ll realise that we have tested the awning in rather difficult conditions. In fact, on each occasion we have used it, we’ve been near to the coast. This resulted in particularly breezy days. Thankfully, the awning coped absolutely fine with the wind.
Sadly, I can’t say that the weather is always glorious on our camper van holidays. So, we have well and truly put the Cubo Breeze through its paces in the rain too during our trip to Pencarnan Farm campsite in Pembrokeshire. We didn’t experience any issues with water coming inside. No condensation gathered within the tent and it didn’t leak at all.

Staying dry inside an air awning
Our experience of staying dry inside the Cubo Breeze even in wet conditions is fairly standard. Olpro use high specification waterproof fabric to make their awnings, so that they won’t leak. Seams are heat-treated to ensure water doesn’t make it way in too. The only issue that occurs with air awnings is that condensation can make its way inside.
Like other aspects of camping, Olpro have a comprehensive page on their website about how to cope with condensation in an awning. They suggest the following ways of avoiding condensation:
- Open ventilation points when the weather permits it
- Store wet items outside
- Avoid heating or cooking in the tent
- Pitch somewhere with a natural breeze
- If condensation appears then wipe down the inside of the tent and remove all wet items
Taking down and putting away the awning
We have been known to cut our holiday short to avoid having to put the awning down in the rain. If it’s at all possible to put it down when it’s dry, it makes the whole process so much easier and less painful. That said, the Cubo Breeze is easy to take down. Air escapes from the air beams in a matter of seconds and there is no inner tent to wrestle with. Often, the trickiest part is taking out the pegs.
Once the Cubo Breeze is deflated, it is easy to fold down and place back into the bag it came in. The storage bag is substantially bigger than the size the awning folds down to, making it easy to put away. To be totally transparent, I avoid having anything to do with this process. My job is usually to keep the kids entertained and walk the dog while my husband puts the awning away. He is able to fold it up and get it into the bag on his own and says it’s incredibly easy.
Extra parts available for the Olpro Cubo Breeze
Having been using Olpro products for a few years now, there are certain additions we would recommend for the awning. Each is below, linked to the product on the Olpro website.
Other Olpro Products
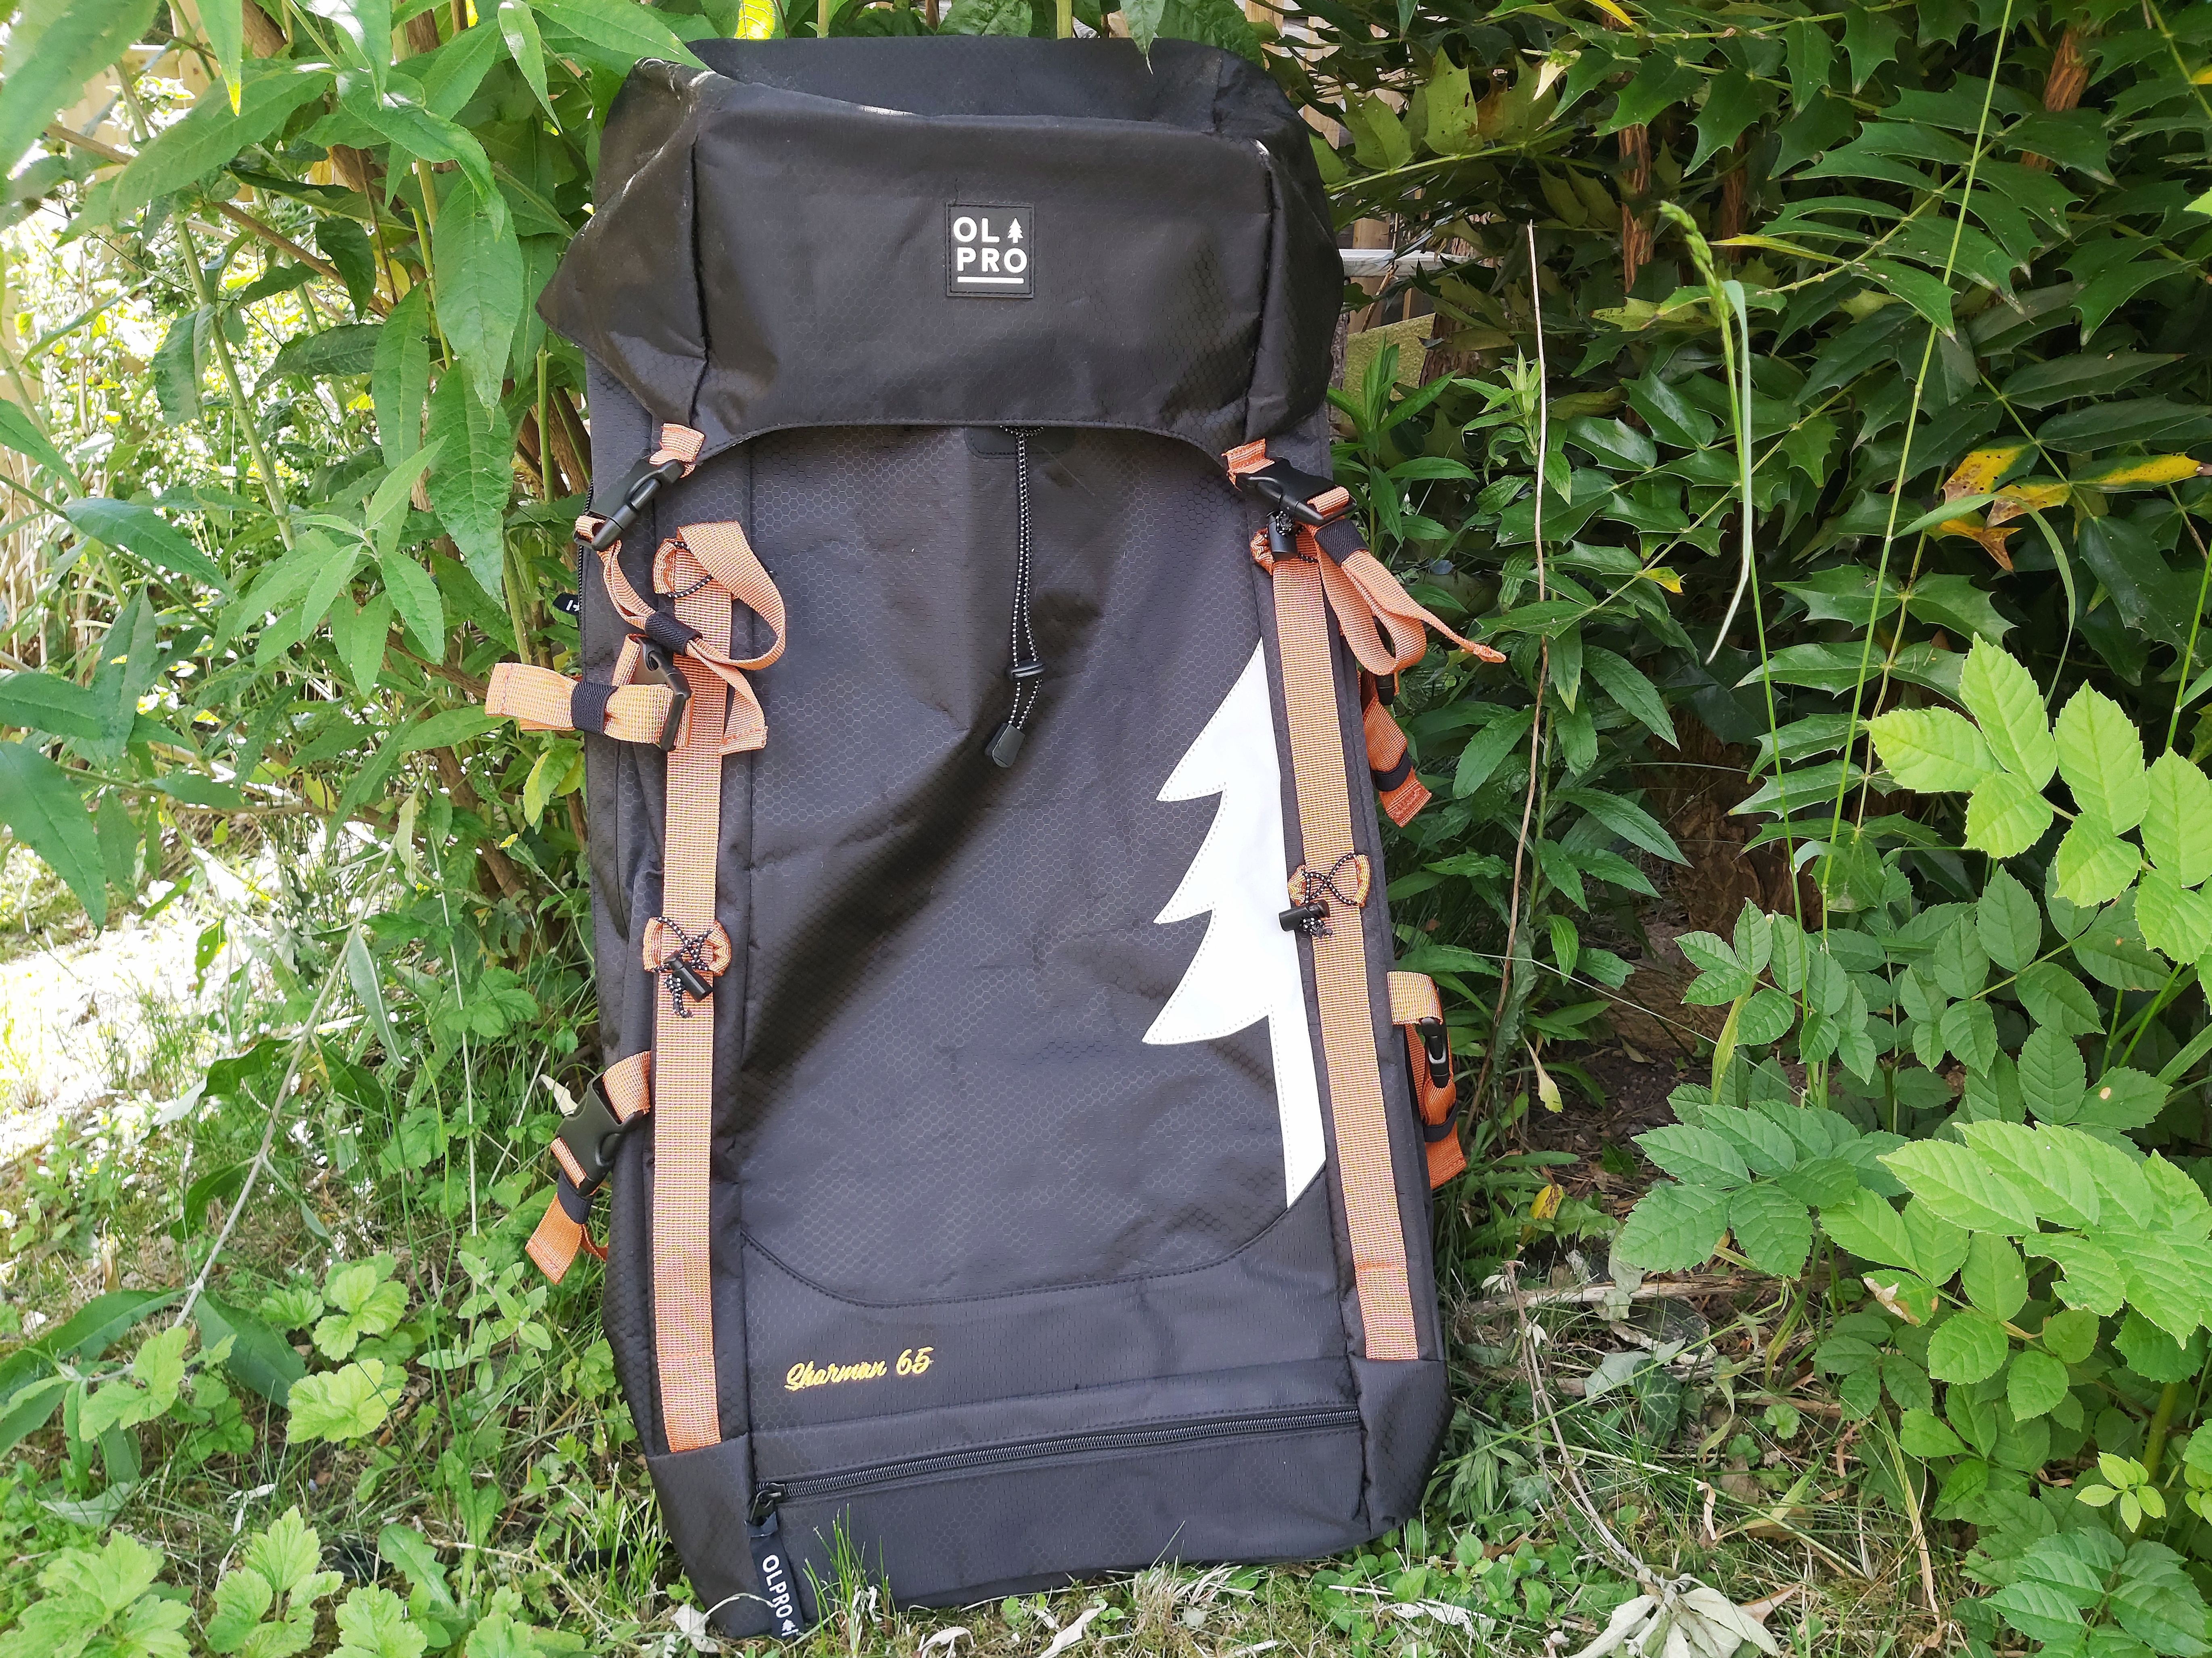
If you’re using your Cubo Breeze awning as a base for a hiking adventure, you might want to take a look at the 65 Litre Rucksack. Before having children, I was quite prone to packing up a backpack and taking off to far flung corners of the world. Venezuela, Australia and New Zealand being particularly noteworthy. At the time, I used a relatively basic rucksack and there was nothing more frustrating than having to wrestle it off my back each time I needed something like a passport or wallet.
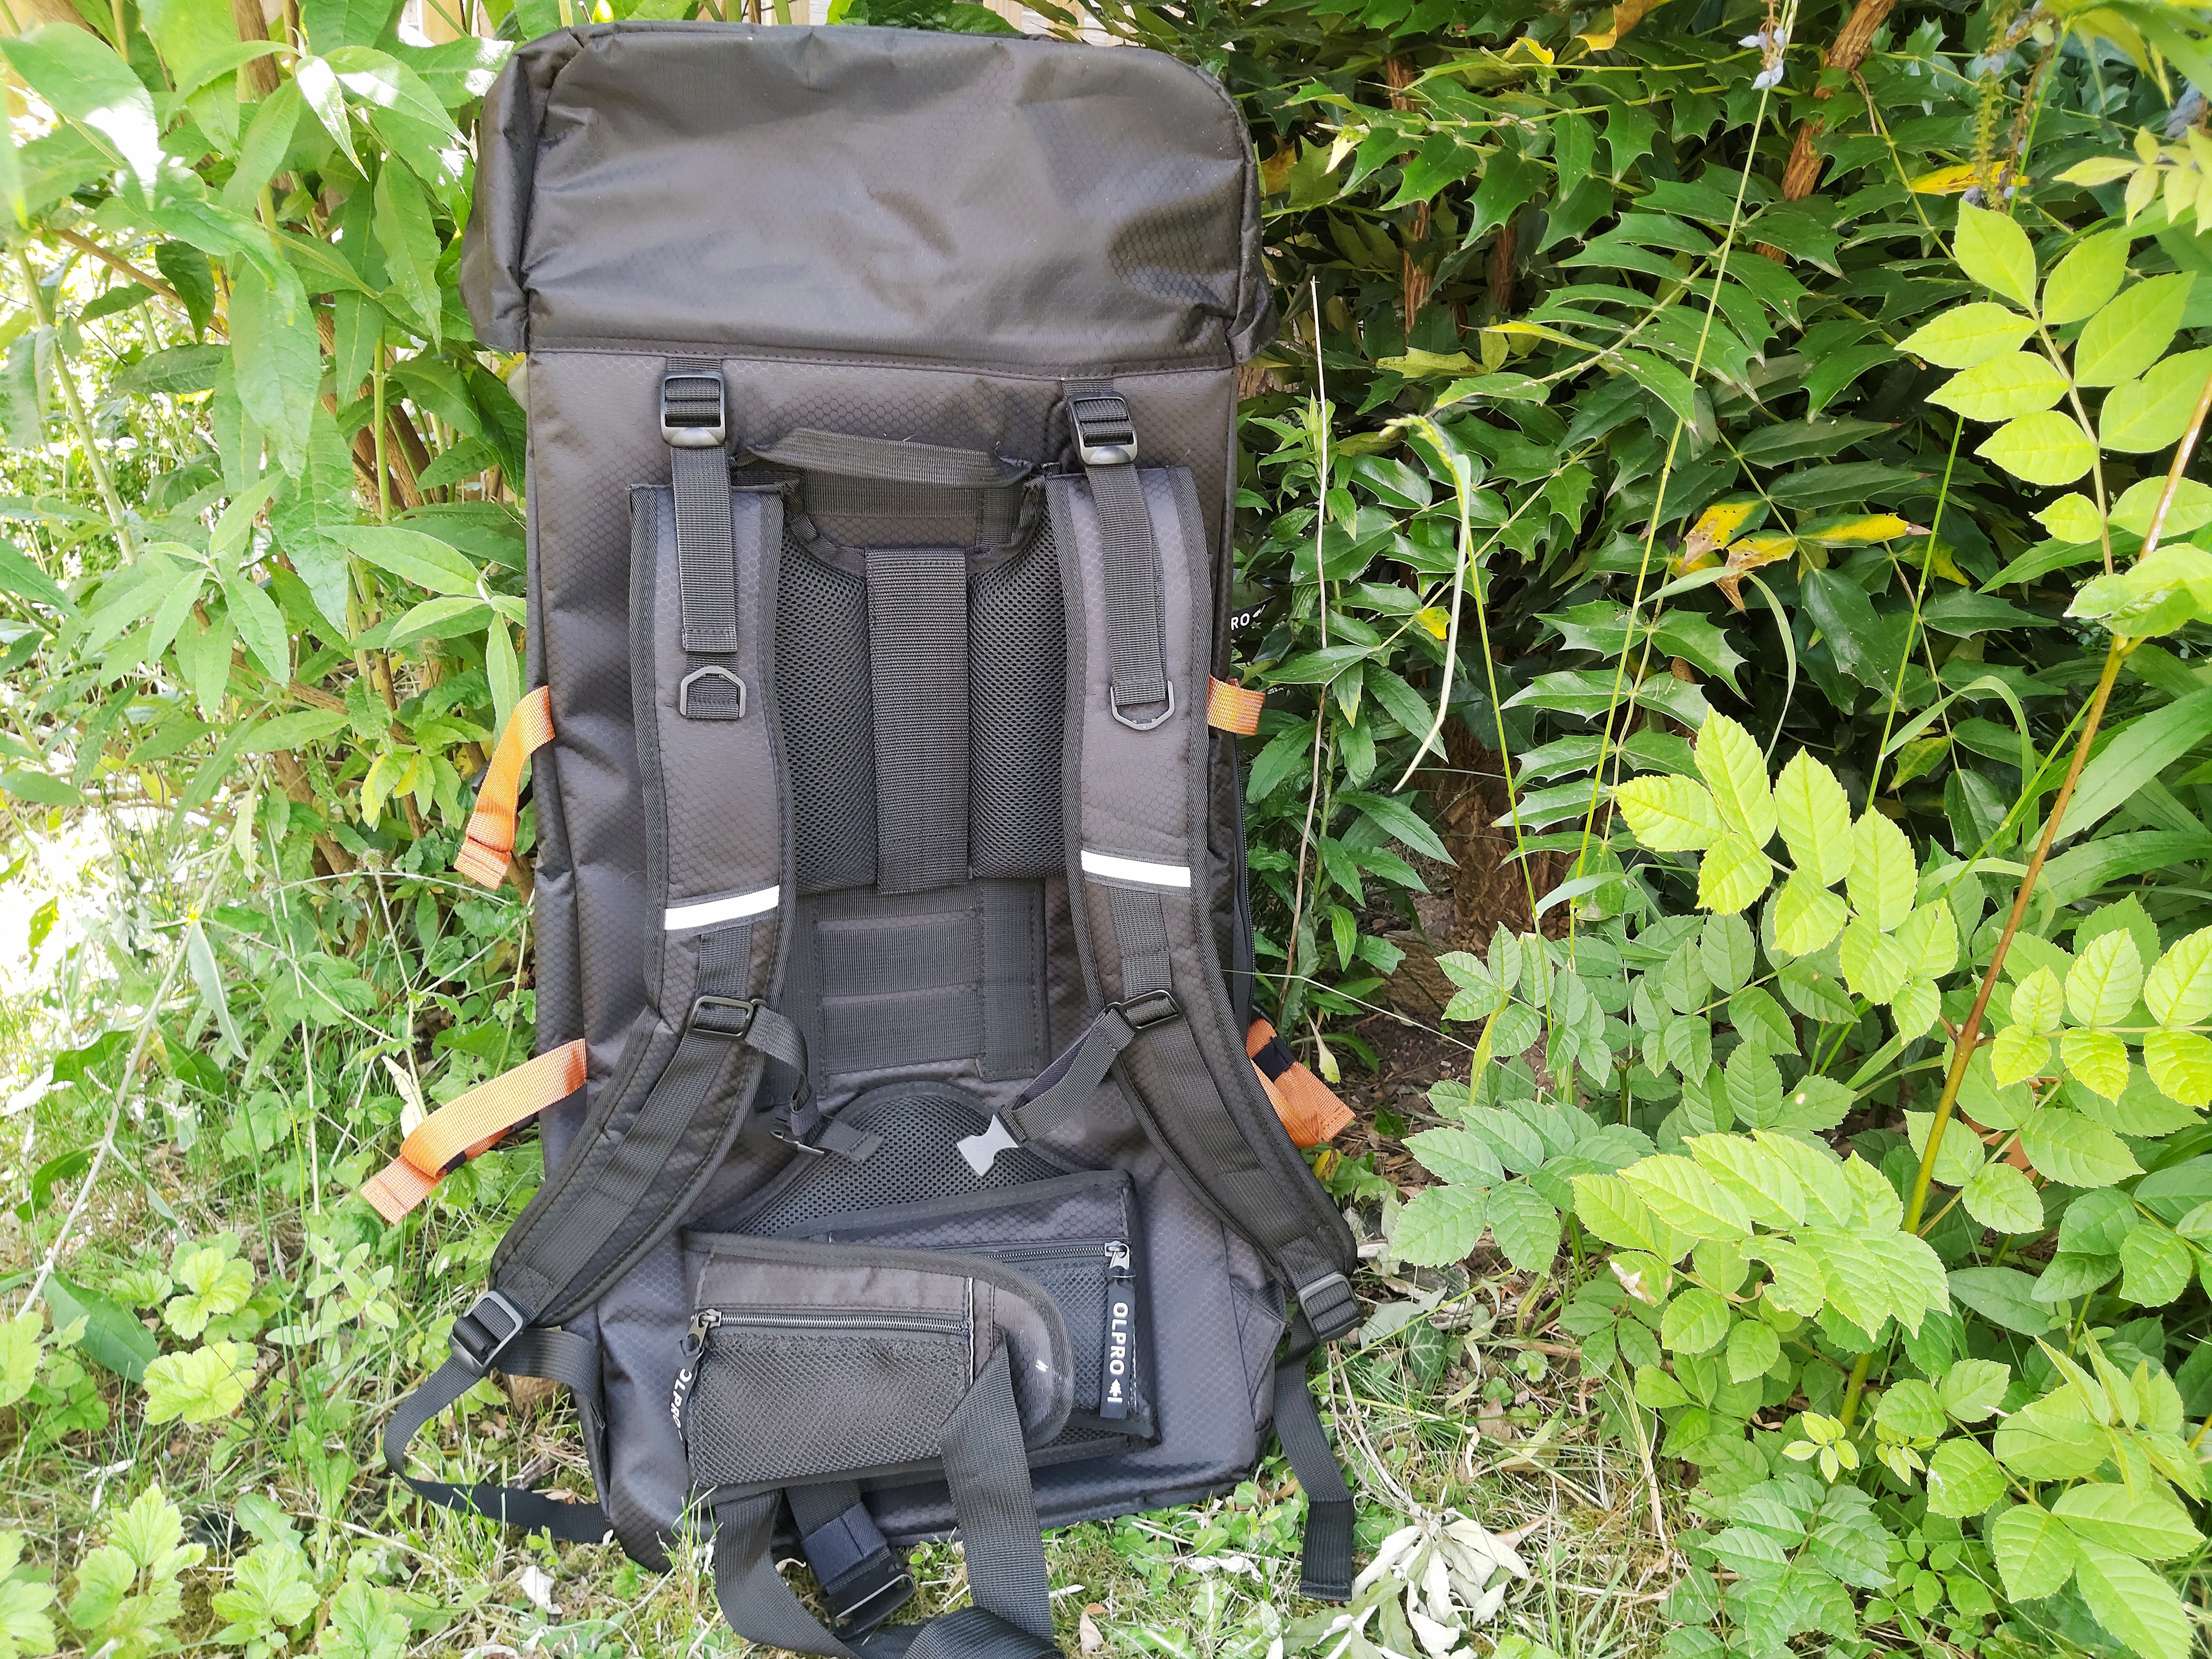
The Sharman is a particularly well thought out hiking rucksack. The main pocket has plenty of space, but it’s the extras I’m interested in. On the belt support of the rucksack are two pockets. When done up, these pockets become easily accessible. They’re the ideal size for a wallet and passport, or for hiking they will be an excellent place to put snacks.
The rucksack is made with robust waterproof fabric. An adjustable hood, mesh pockets and extra tie points all offer additional space. There are organiser pockets on the inside too, as well as loops to clip things onto and additional carrying straps and handles. Due to the robust nature of the Sharman, I don’t anticipate buying another rucksack for many years, it will certainly see the children through Duke of Edinburgh expeditions when they get to that age. Hopefully the time will come when I’ll sling it over my shoulder and set off for somewhere exciting again too.
Olpro Cubo Breeze campervan awning review: The verdict
As with previous Olpro products we have tried out, I have no complaints about the Cubo Breeze. This is a good quality awning of a useful size. If you’re looking for something with an internal bedroom, then the Cocoon Breeze may be more suited to your needs. However, if you are looking for an awning with a slightly smaller footprint that is easy to put up and down, Cubo Breeze might be exactly what you’re looking for.
We are in the lucky position of owning both the Cubo Breeze and the Cocoon Breeze. For us, which one we take on holiday will always depend on how long we are going for and whether we’re moving around. On shorter breaks, or long holidays where we are moving every few days, the ease of the Cubo Breeze is ideal. For a longer holiday where we’ll be staying in one place, we will choose the Cocoon Breeze for its extra space and inner bedroom compartment.
If you decide to buy an Olpro product, I have two recommendations:
- Grab a 10% discount by using code NATALIE10 at the checkout (affiliate code)
- Join the Olpro Everywhere Facebook group for user reviews and help and support from both the manufacturers and other Olpro users.
[AD] Contains gifted products


